Note: With a free ngrok account, you will have to change the connection's address to the new tunnel's address every time you restart OctoPrint.
Remote Access with Ngrok Tunnel
- Install the Ngrok Tunnel plugin and restart OctoPrint
- Click the wrench icon () in the top-right corner to open OctoPrint settings
- Navigate to the ‘API’ section, under the ‘Features’ heading
- Enable the ‘Allow Cross Origin Resource Sharing (CORS)’ option

- Restart OctoPrint again
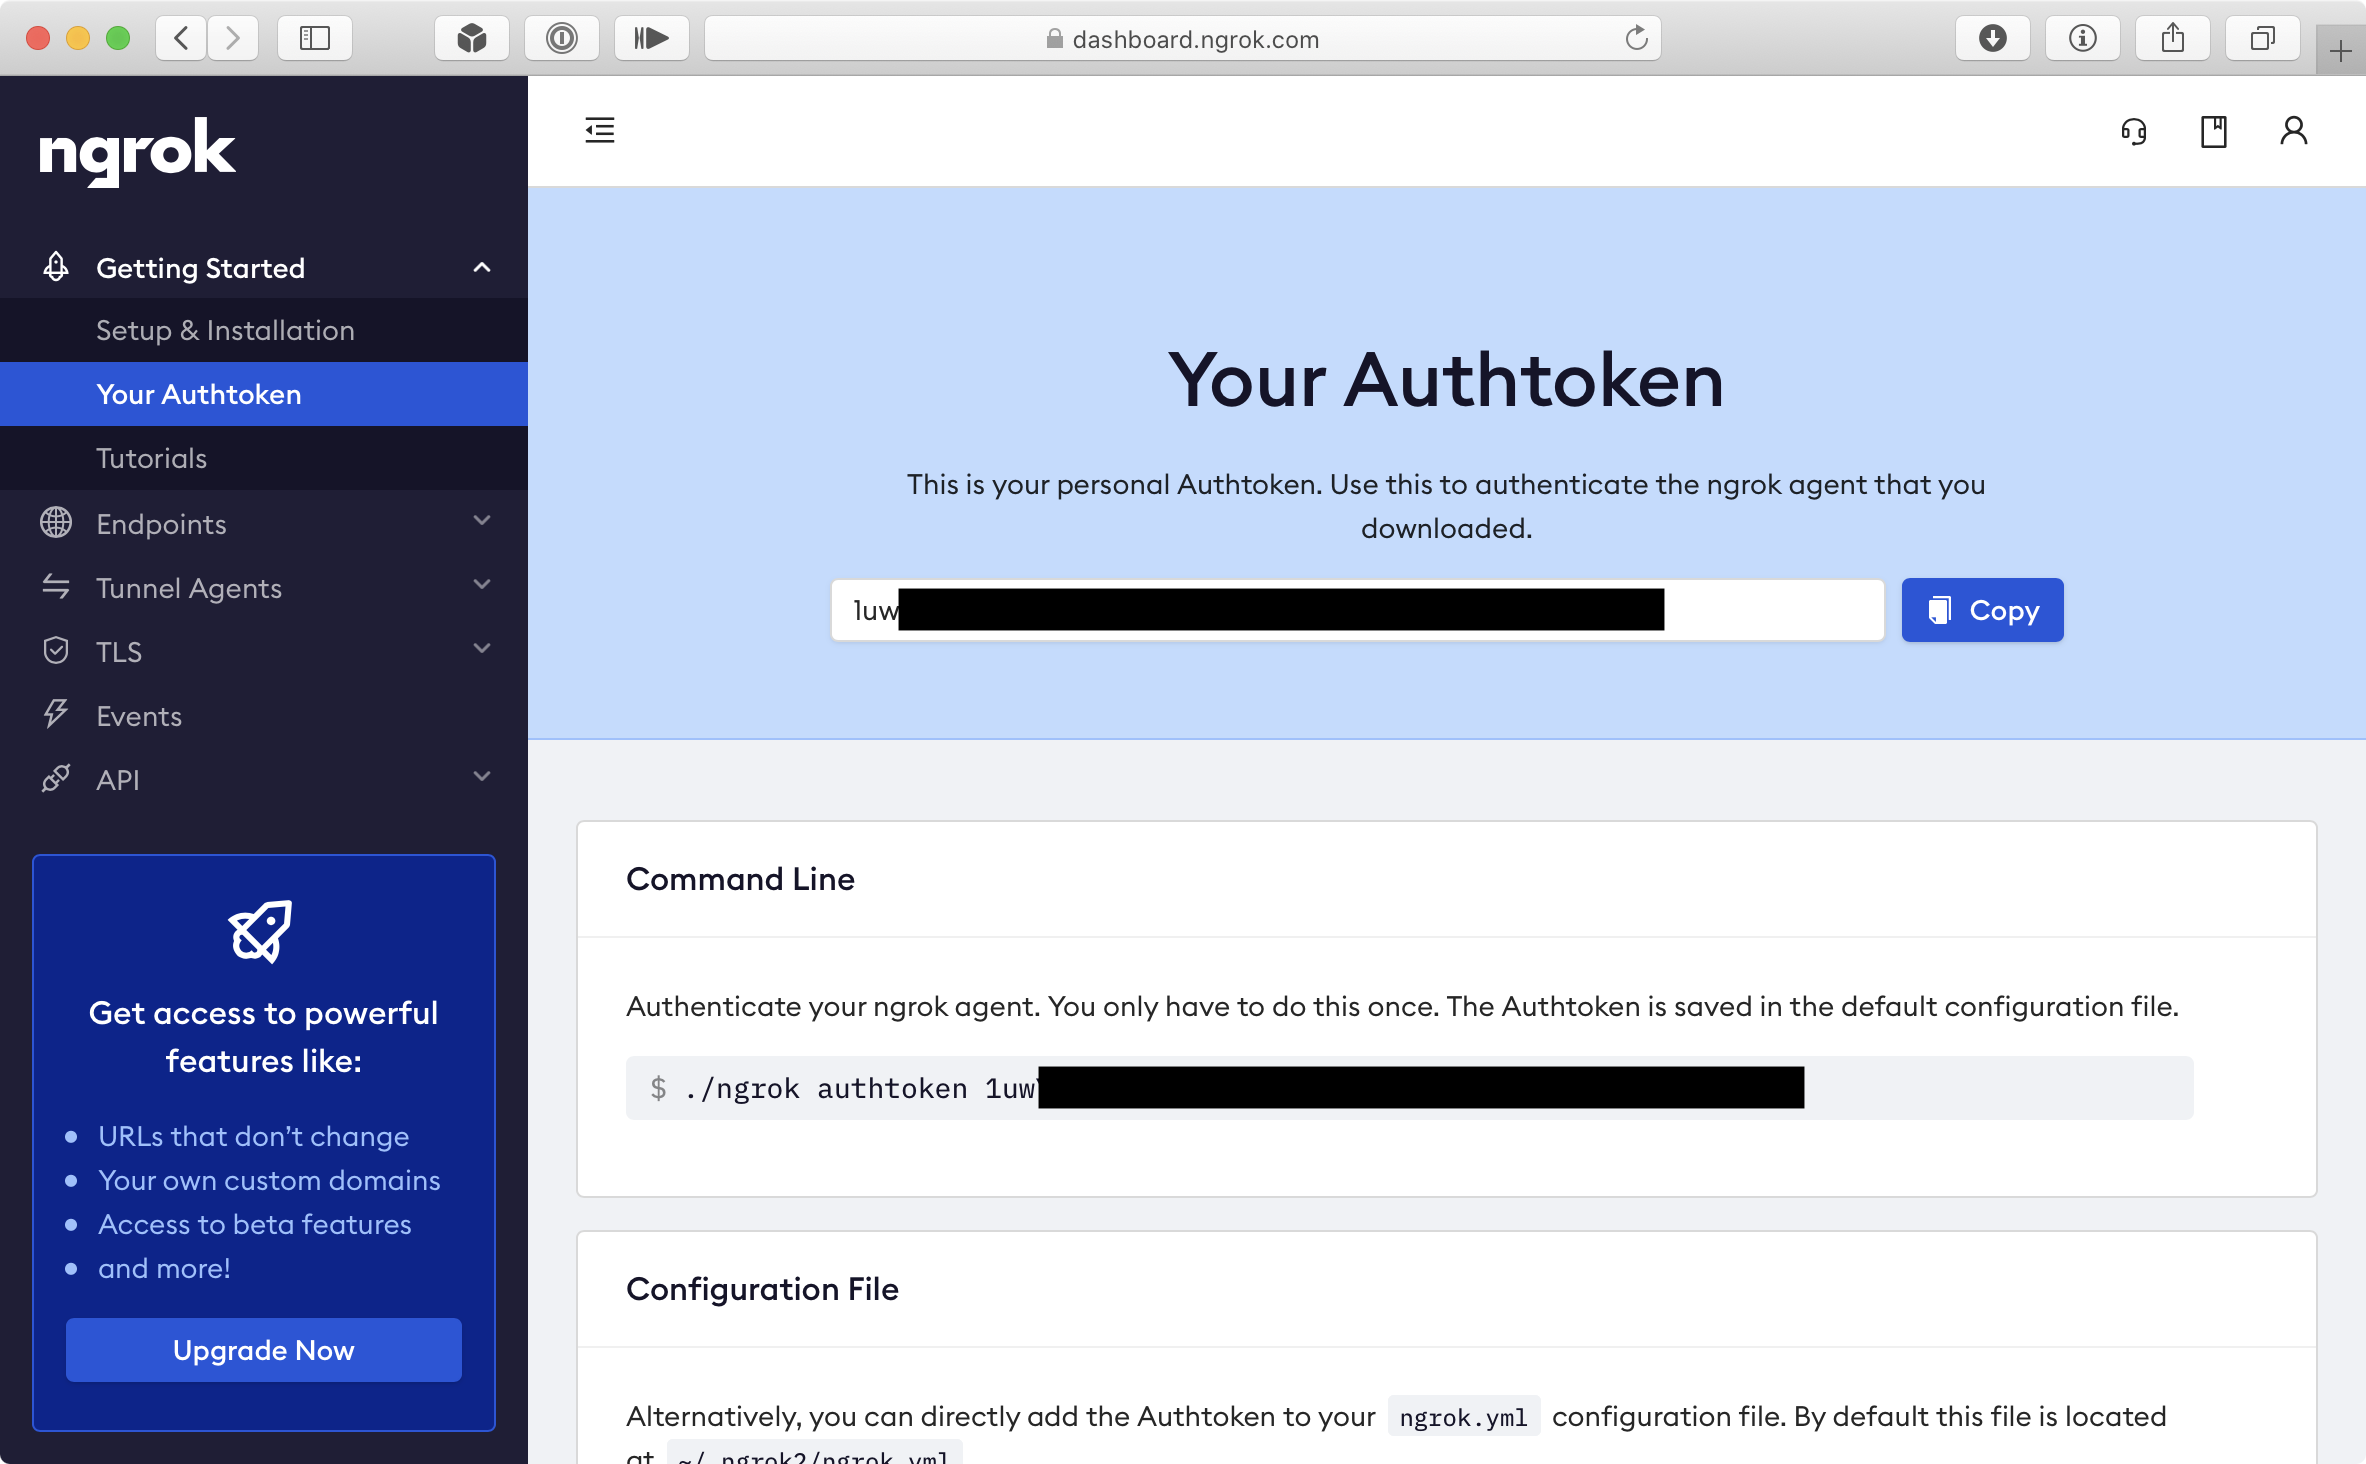
- Sign up for an ngrok account
- On the ngrok dashboard, select the ‘Your Authtoken’ option from the side menu (in the ‘Getting Started’ section)
- Copy the authtoken to your clipboard
- In OctoPrint, click the ‘Tunnel settings…’ option in the Ngrok Tunnel menu ()

- Paste the ngrok authtoken into the ‘Auth Token’ field. Set a username and password, and remember them for later.
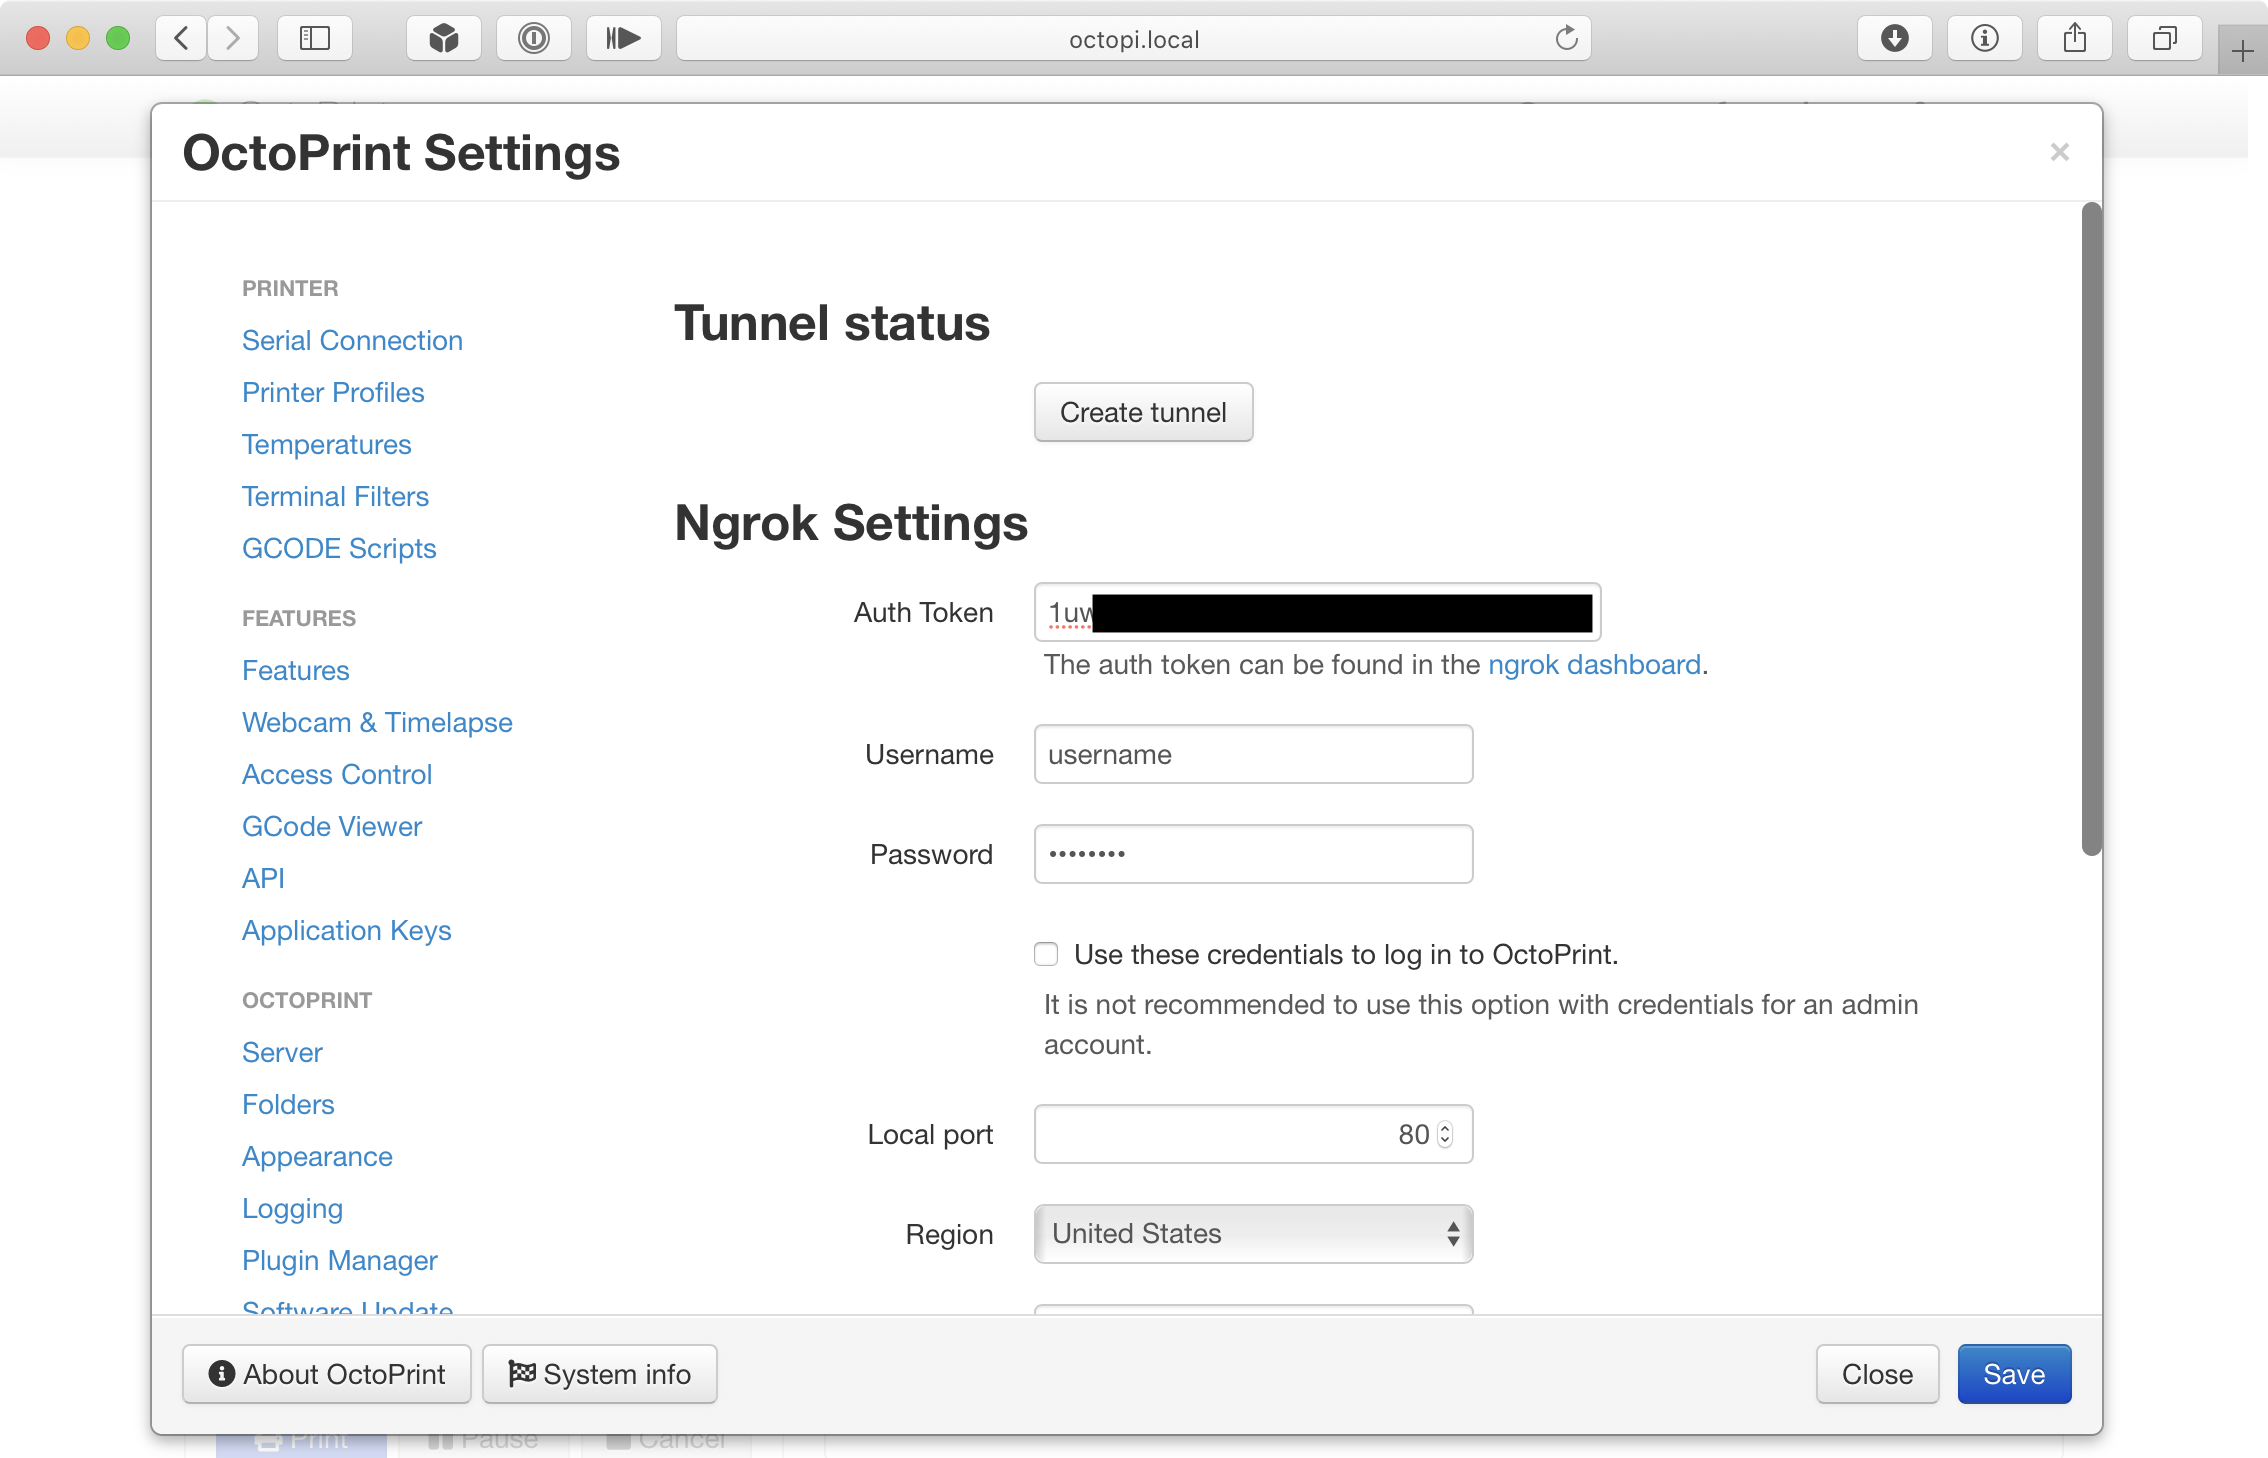
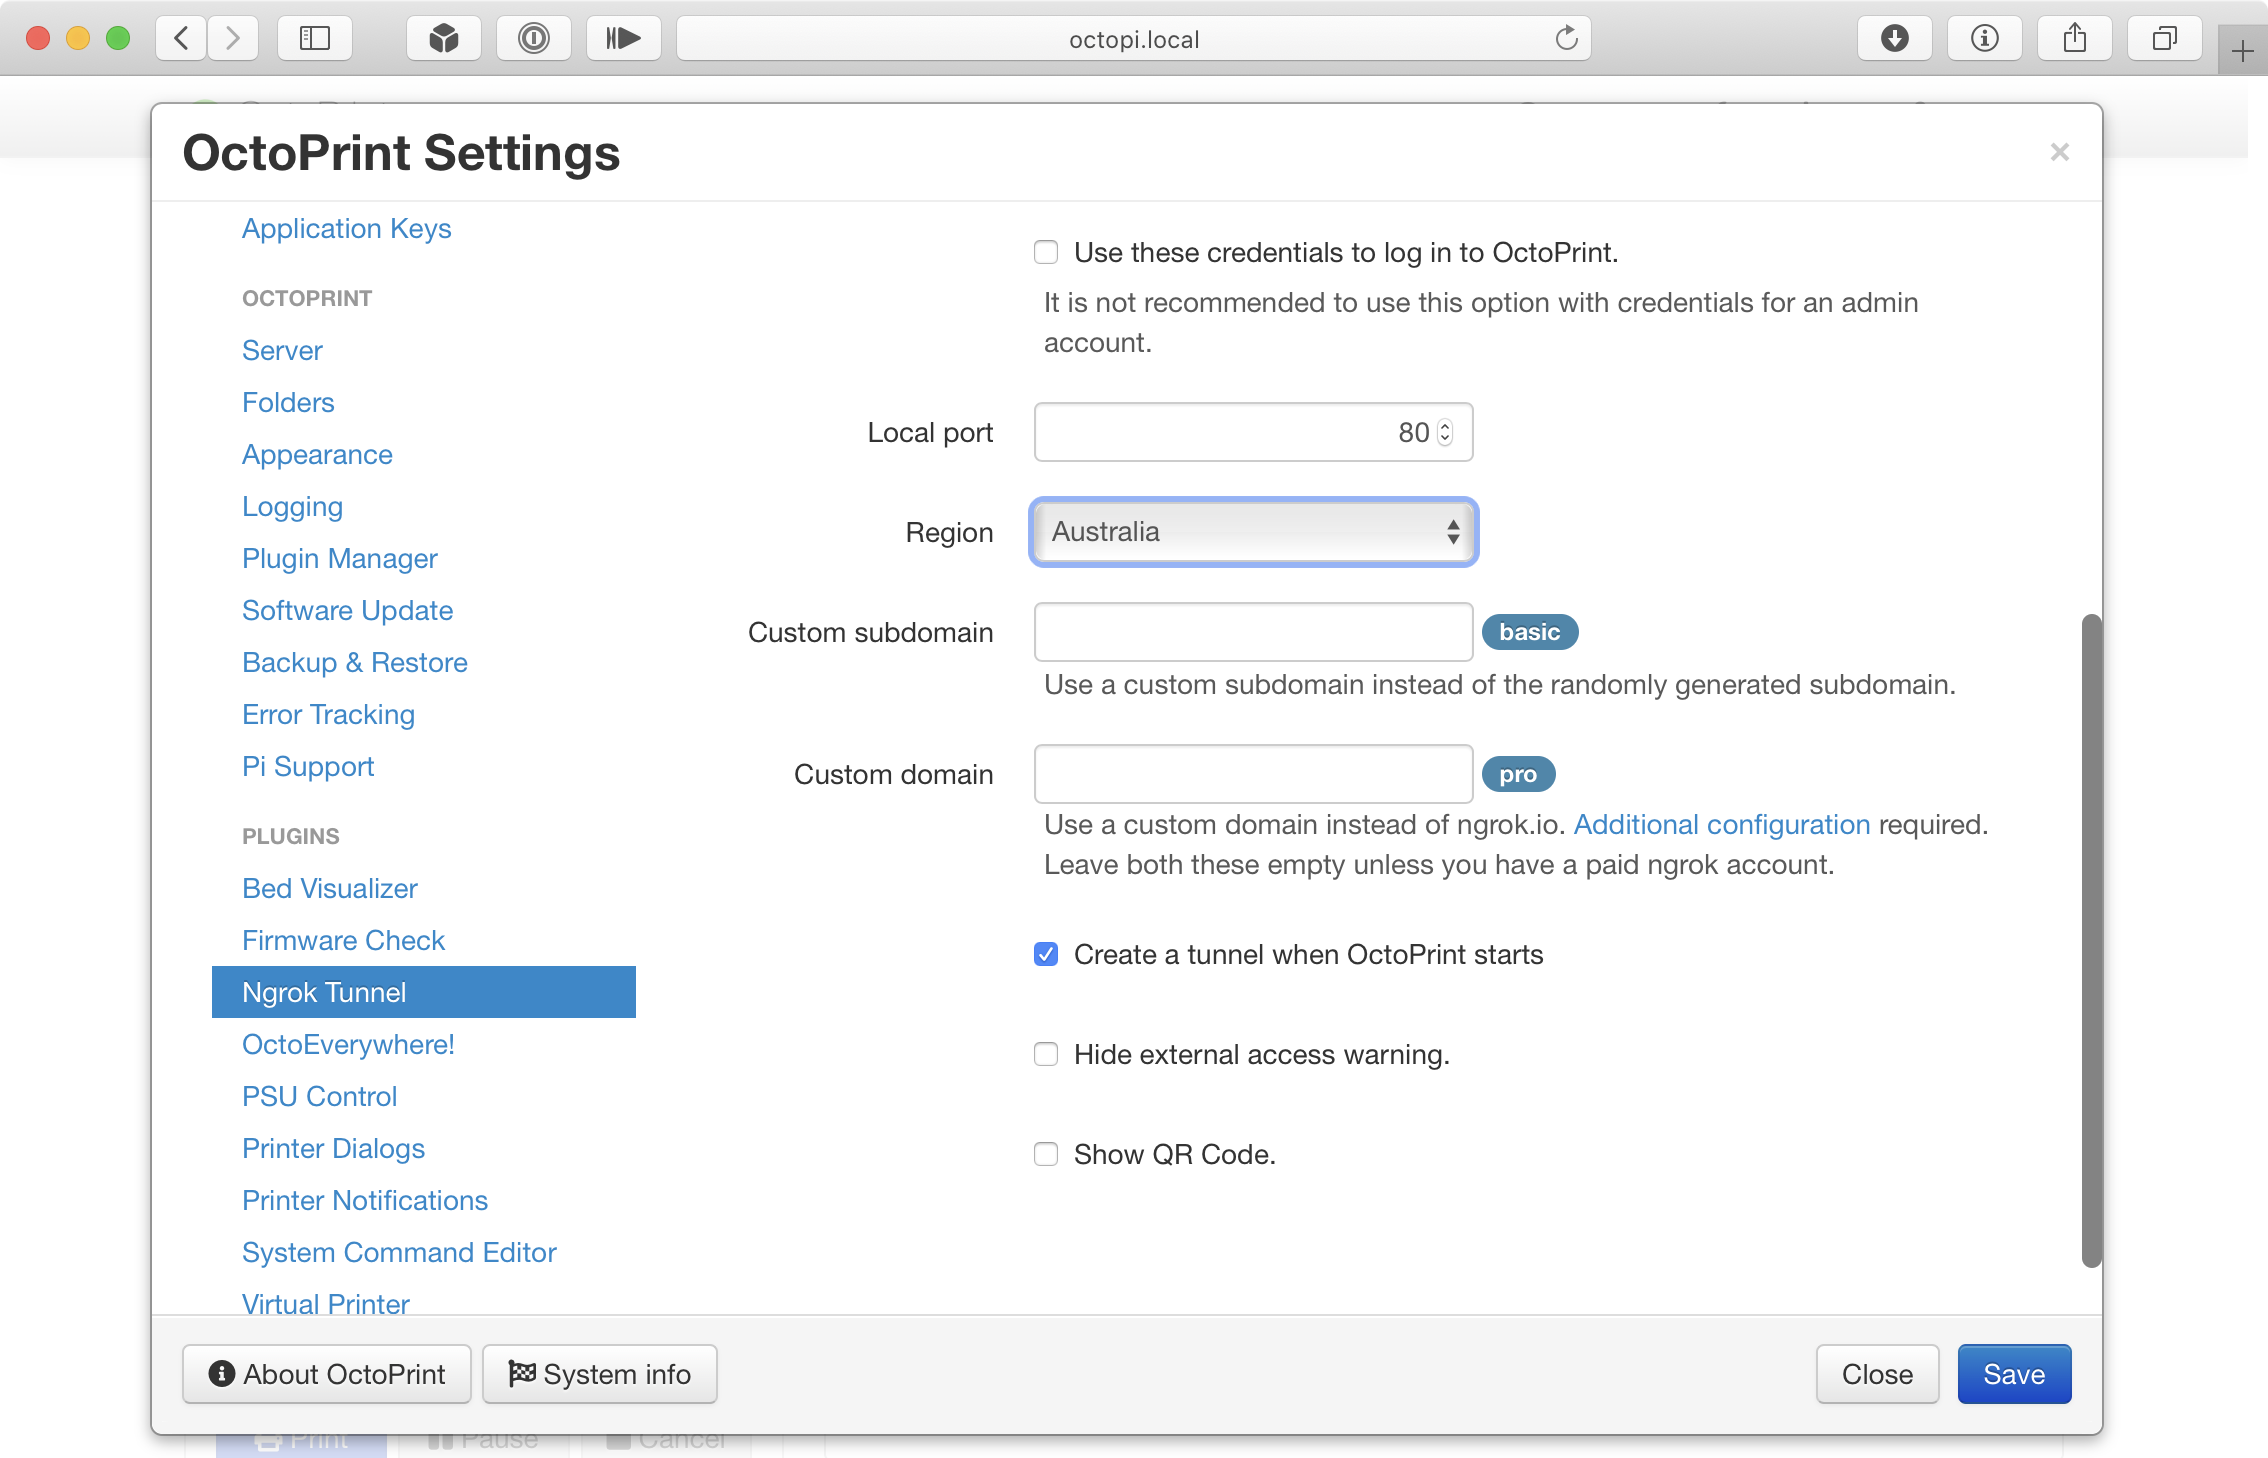
- Scroll down and set the ‘Region’ option to the location closest to you.
- In Polymer, navigate to ‘Settings’ → ‘Printers’
- Tap the add (+) button
- Tap the ‘Manual Setup’ button
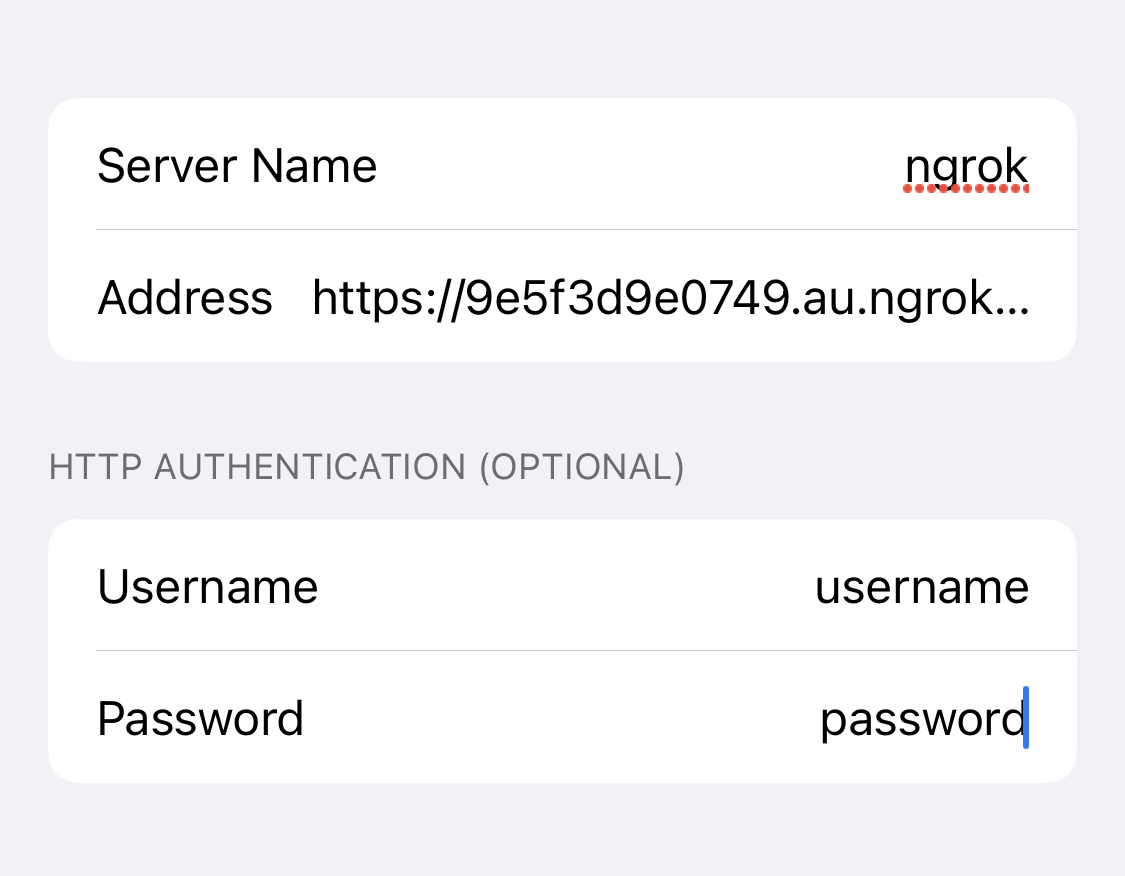
- Enter the ngrok tunnel URL into the address field (the tunnel can be found under the icon). Make sure that the address starts with
https://, nothttp://.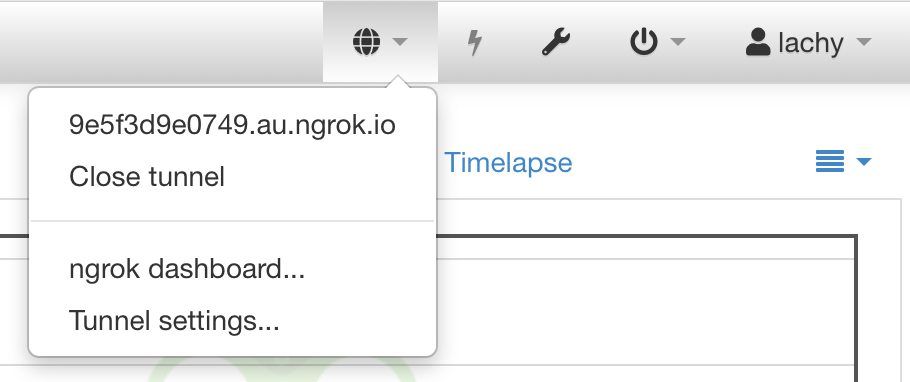
- Enter the username and password that you entered before
- Tap ‘Continue’
- Authenticate as per usual